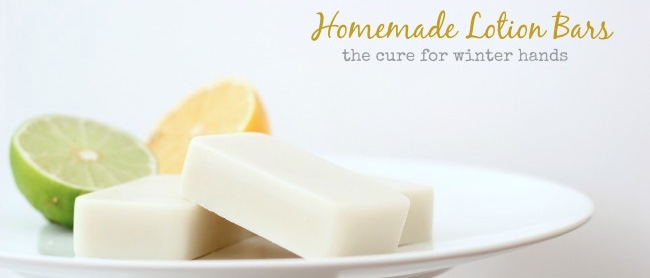
My kids and I made these lotion bars as Christmas gifts this year. I absolutely LOVE them and so did everyone we gave them too. So I decided that they are worth blogging about.
Here are some of the ways I think they would be awesome to use.
1. Dry hands – knuckles that crack and bleed because of dryness.
2. Sore noses – ’tis the season for colds, and repeated run-ins with the tissue box can leave your nose red and sore.
3. Chafed skin – the lotion bar won’t prevent the skin from chafing but it does an awesome awesome job at helping it heal.
4. Eczema – especially good when you add the essential oils that are great for healing eczema to the recipe (see notes below).
5. Diaper rash – all the ingredients in this recipe are great for the skin and safe for little ones. It can be used with every diaper change as a way to keep your baby’s sensitive skin healthy.
6. Growing Bellies – this use is especially for the pregnant ladies. During pregnancy the skin stretches so much that it can often feel tight and itchy. These lotion bars are the prefect remedy for that.
7. Mystery Rash – sometimes this just happens. You get a rash in one area of your body for some strange unknown reason. The lotion bar is a great way to help the skin heal. As a small aside, a rash can sometimes be stress related, a sort of last-straw situation because of an overloaded immune system. In other words, when the immune system can’t take any more, a rash shows up signaling “I’m done!”.
8. Dry Gardening hands – I LOVE gardening, but I don’t enjoy how much the dirt dries out my skin even when I’m wearing gloves. I’d taken to applying lotion before putting on my gloves, but it often wasn’t enough. Now I can’t wait for spring and to use these lotion bars instead! I’m sure that as you read this blog you might come up with additional uses for the lotion bar. Actually once you start using it, you might wonder how you ever lived without one. Made of coconut oil, cocoa butter, vitamin E, a bit of beeswax and essential oils, these natural moisturizing lotion bars will nourish and soothe your dry skin and you get to feel good about all the ingredients. To use the bar, just run it over your skin and let your body’s natural heat melt the lotion for some extreme skin hydration.
Now the nitty-gritty…
Below is what you’ll need. You’ll be able to find all the ingredients at your local health food store. I recommend getting local beeswax if you can. Some beekeepers today are using chemicals in the hives to rid them of mites and disease. Some even feed the bees rather than letting them foraging naturally, which in turn puts a non-natural product into the wax that then goes on your SKIN! Support and know your local beekeepers and know that quality untreated wax is a tad more expensive but you will see the rewards! So many amazing things are in wax that will make your skin glow. If you are getting the beeswax at your local health food store, just ask where it is from and then phone the producer to be sure it’s free of chemicals.
As for the scent of the beeswax, generally the lighter the wax the less strong scent you will smell. You will never get rid of it entirely because of all the lovely florals and pollen inside. However, the lighter wax is younger and hasn’t “soaked” up that much honey floral smell. Darker wax can be older wax or even a darker honey from certain flowers could have occupied the wax giving a distinct flavour.
The bars are hard because of the beeswax. The coconut oil, the cocoa butter and the essential oil do the moisturizing and healing, and the beeswax forms a protective layer over the skin to lock in the moisture and prevent further damage from water, etc. You can experiment with more beeswax (2/3 cup) if you want a harder bar.
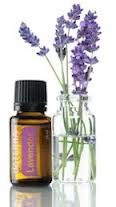
As for which dōTERRA essential oils to use.. well here are some of my personal favourites. If you live somewhere cold and dry, like me here in Saskatchewan, and you don’t need to worry about sun exposure, then citrus bliss or wild orange is lovely. I found that I really needed to use about 30 drops to be able to smell the citrus aroma balanced with the coconut and beeswax aromas. Citrus oils applied to the skin can make your skin more photosensitive, so that’s not a good choice if you spend a lot of time in the sun. If you are looking for a blend of oils that is really great for very dry skin, then I like using 10 drops of each of the following: lavender, melaleuca, and roman chamomile. For a calming scent, I really like dōTERRA serenity blend. I love myrrh and sandalwood together and each of those oils are great for dry skin, but they are a bit more pricey. Geranium and Lavender would also be a lovely blend. And finally if you are a fan of peppermint, it can work great in this recipe. Just like the above discussion about the quality of the beeswax, if you are putting it on your skin, your body is absorbing it, so you want the best quality possible. DōTERRA’s essential oil are certified pure therapeutic grade, so if you use them, you can rest easy knowing that you are putting the best on your body. Cheaper essential oils often contain contaminants and synthetic components which can destroy their therapeutic value. Click here to learn more about certified pure therapeutic grade.
Ingredients
1/3 to 1/4 cup beeswax
½ cup coconut oil
½ cup cocoa butter
1 teaspoon vitamin E oil
15 – 30 drops of dōTERRA essential oil
clean old mason jar
silicone mold (you can find these at kitchen stores and craft stores)
Directions
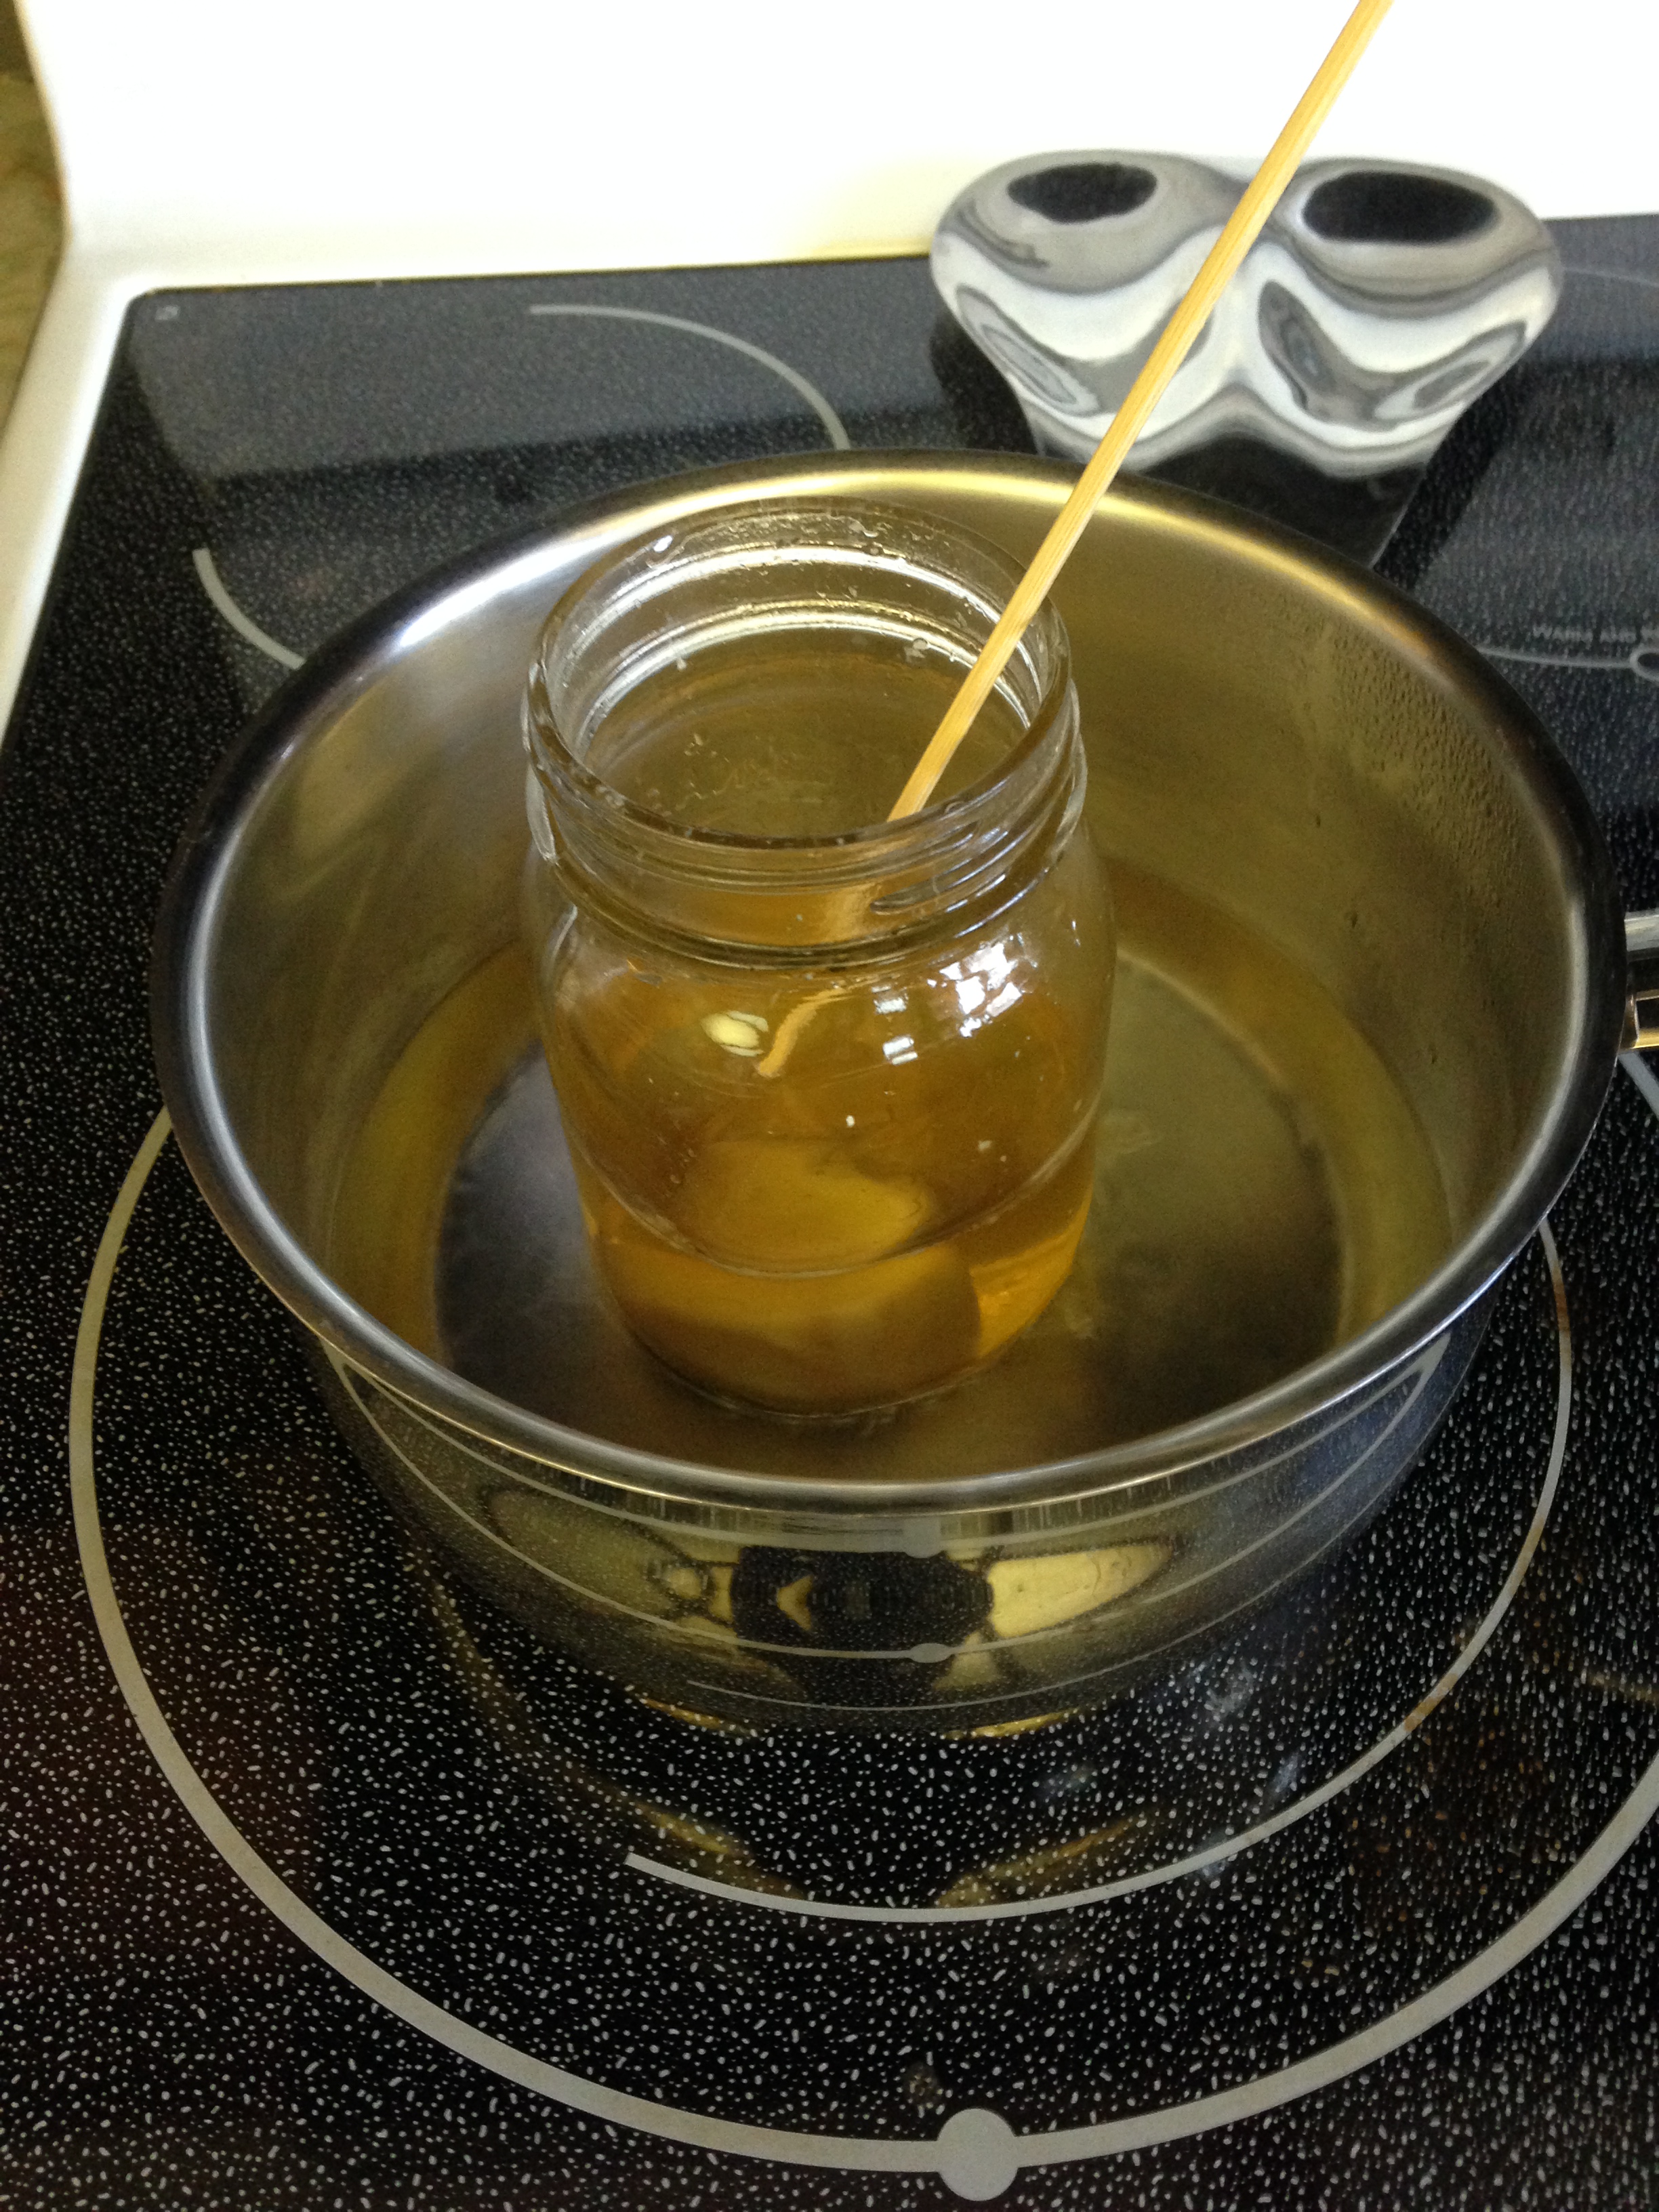
1. Measure all ingredients, except the essential oils, in a large glass jar. An old mason jar works the best so you don’t have to worry about cleaning it out after.
2. Place the jar in a saucepan or pot with 1-2 inches of water. (Just make sure the water doesn’t boil away on you).
3. Stir occasionally and wait for the ingredients to melt; this usually takes between 10-15 minutes. (The coconut oil and cocoa butter melt quickly, the beeswax will take longer.)
4. Once all the ingredients are melted together, remove from heat. Let cool for 3-5 minutes, then add your essential oils and stir.
5. Pour the mixture into the silicone mold.
6. Let the mixture harden for 2-3 hours. If you want to go faster (maybe because you decide to make for four batches at once, like I did) then wait 10 minutes so they are a little bit hard and don’t spill, and move them to your fridge. Then by the time the next batch is ready to pour, you’ll be able to use the mold again.
7. Pop the lotion bars out of the mold and store in a cool place until ready to use. Once ready for use, I like to store my lotion bar in a little round tin. I’ve had good luck at reusing little tins from other things such as mints, and I recently found some at my local dollar store.
Please post below and let me know how you are using your lotion bar.
Marie
If you enjoyed reading this post, you might also like these two articles..
What Makes DoTERRA Essential Oils Different?
Although there are good essential oils available to consumers, many products claiming to be essential oils often are not pure aromatic extracts and often contain fillers and non-aromatic compounds. Furthermore, there are no current regulatory standards for products labeled as essential oils.
Discover what makes doTERRA’s essential oils different. Keep Reading
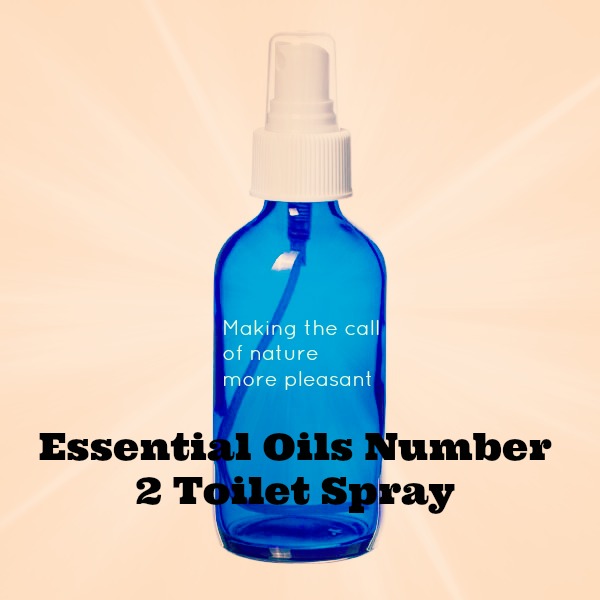
DIY : Make Your Own Poo-Pourri
Make your own poo-pourri
What is it? It is a blend of essential oils that virtually eliminates bathroom odours. Here’s how to use it. BEFORE “nature calls”, shake the bottle and then spritz the #2 Spray into the toilet bowl. Approximately 3 or 4 spritzes should do it. Then do your “business”. The oils will disperse over the water creating a vapor barrier and trapping any offensive odors! Keep reading to learn how to make your own.
Pregnancy takes a lot from you—physically, mentally, and emotionally. That’s why it’s important to pause, reset your energy, and connect with yourself […]


